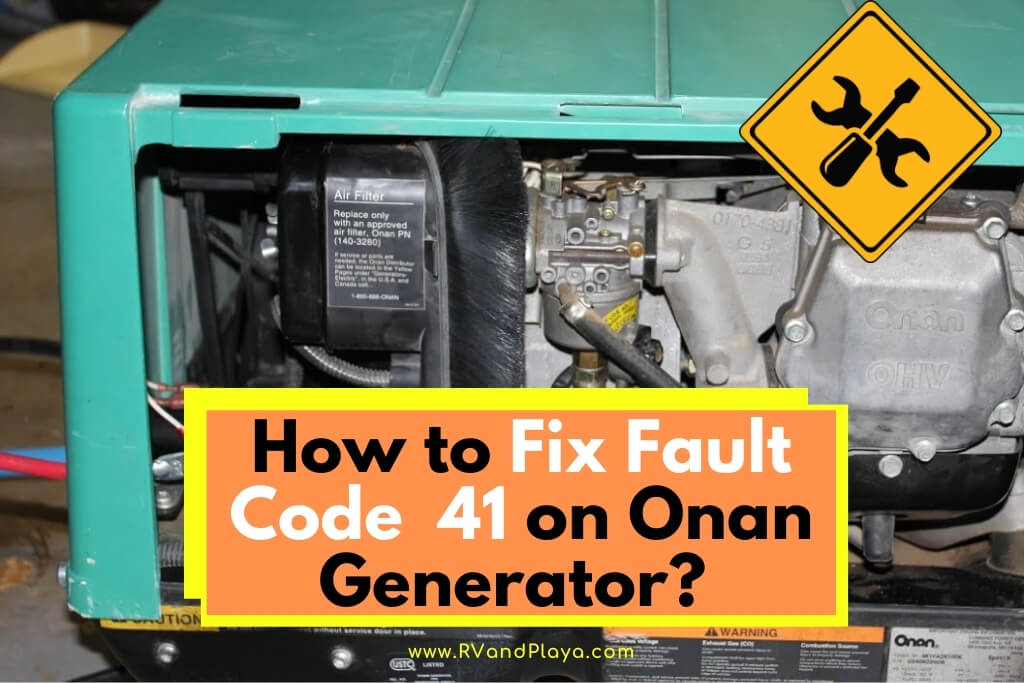
The Onan generator fault code 41 falls among problems that don’t crop up all that often but unfortunately can mean some serious issues with a generator.
Getting to the bottom of it is especially important if you need a consistent source of electricity for your motorhome out there in the wilderness.
Being able to rely on the generator for all your electricity needs away from the beaten paths is one of the things that make RV adventures enjoyable and convenient.
So, how to fix fault code 41 on Onan generator? To solve the error code 41 on Onan generator, just check and follow the steps below:
– Step #1: Check the weather
– Step #2: Check fuel lines for damage
– Step #3: Check the fuel pump
– Step #4: Check carburetor or governor actuator
So, keep on reading to find out what are causes of fault code 41, what you can fix by yourself, and for what you will need help.
Table of Contents
What is Fault Code 41 on Onan Generator
The main source of electricity for your RV, when you take it away from the shore power, is the generator.
When it is not working, or suddenly grinds to a halt, it can be an alarming situation.
Fortunately, Onan generators have a system for diagnosing the problems that cause its malfunctioning, so you can very easily get an idea of where to start troubleshooting the problem.
“Fault code 41 is present on generators manufactured from 2003 onward, and it means that the control board has sensed that the direct current field voltage or alternating current sensing voltage; has dropped to 0 volts for one second.”
This will lead to the generator shutting down.
There are several issues that can cause this, but for now, let’s get on with making sure that you are actually dealing with this code and not some other.
List Fault Codes for Onan Generators
To learn more about the different Onan Fault Codes, what they mean and how to fix the problem.
Following is a list of the Cummins Onan Generator fault codes which include:
>> Code 2: Low Oil Pressure
>> Code 4: Over Crank
>> Code 19: Governor Actuator Overload
>> Code 23: Low Oil Pressure Cutoff Switch
>> Code 27: Voltage Sense Error
>> Code: 29 High Battery Voltage
>> Code 31: Overspeed
>> Code 32: Low Cranking Speed
>> Code 35: Control Card Failure
>> Code 37: Invalid Generator Set Configuration
>> Code 38: Over Current (Field Overload)
>> Code 41: Generator Rotor
>> Code 42: Processor
>> Code 45: Speed Sense
>> Code 47: Ignition
>> Code 48: Generator Field Sense
>> Code 51: Processor
>> Code 52: Fuel Injector
>> Code 54: MAT Sender
>> Code 56 MAP Sender
>> Code 57: Over Prime
>> Code 58: Exhaust Gas Temperature Shutdown
>> Code 81: Exhaust Gas Temperature Sensor Open
>> Code 82: Exhaust Gas Temperature Shorted
Reading the Fault Code on Onan Generator
Fixing any problem starts with being aware of its existence.
The Onan generators use the system of indicator light blinking to signal the exact fault code.
If you are reading this, you probably are already certain that you are dealing with fault code 41.
But it never hurts to make sure of it, and here’s how to go about it.
- The first thing to do is to open the generator access hatch on your RV and push the STOP button thrice.
- Now the indicator light will start flashing three-time, repeatedly, blink-blink-blink-pause, and you should press and hold the button for around a second.
- Once you depress the button, the flashing pattern will change and will consist of two groups of flashes with a short pause between them, after the second group comes a longer pause, then the whole pattern repeats.
The number of flashes in the first group is the first digit in the two-digit fault code, and the second group is the second digit in the same manner.
So, if you are seeing the blink-blink-blink-blink-pause-blink-long pause flashing, it is fault code 41.
In case that you see a different pattern, it is a different code.
Troubleshooting Fault Code 41
There are several causes that can trigger fault code 41, namely short cycling loads, fuel/air supply issues, or generator windings.
Troubleshooting short cycling or faulty electric appliances in the RV is well beyond the scope of this article, they can vary greatly and it is beyond any reasonable skill level of someone who is not a trained professional.
Troubleshooting generator windings, quadrature, and field; resistances is somewhat simpler to do, in case that you have a multimeter.
Taking these readings, if they suggest any probable cause of the problem, will only tell you why you need to take the RV and generator to a professional shop, so it’s better to skip it for now.
But there are some things you can do to troubleshoot some of the potential causes.
Step #1: Check the weather
I know, this sounds cynical and patronizing, but the generator can experience fuel supply issues due to weather conditions.
All gasoline engines can experience a vapor lock in the situation when the ambient temperature the generator is exposed to gets higher than 120 degrees.
If your RV has been sitting in the sun the whole day this is a temperature that can be easily reached in the generator compartment.
On the other end of the temperature scale, is the problem for LPG-powered generators.
When the temperature is lower than 40 degrees, vapor-withdrawal propane tanks should be at least half full, otherwise, the vaporization rate will be too low for the proper function f the generator.
Step #2: Check fuel lines for damage
This is a simple thing to do, as any damage to fuel lines, big enough to cause the fault code 41 will lead to considerable leaking of fuel.
If you have diesel and gas-powered generators, there will be a pooling of it around the generator, or the fuel line will be wet.
In the case of an LPG-powered generator, you should feel the characteristic odor of the leaking gas.
Read also: RV Propane Refill Near Me – Stations & Locations [UPDATED]
Step #3: Check the fuel pump
The first thing you need to do is to check the fuel pump leads and whether they are properly connected.
Because the location varies on different Onan generator models, it is best to consult your user manual for its exact location, most of the time you will find its leads tucked just next to the control board in the lower-left corner of the generator’s interior.
Fuel pump leads are a piggy-back type of connectors, with the positive lead having a male connector on the pump side, and the negative lead having a female connector, so there is no chance of the pump being connected backward.
In case that your generator is carburated, it is easy to troubleshoot whether the fuel pump has failed.
All you need is to undo the bleed screw on its bottom while holding a gasoline-resistant container under it.
If the fuel starts flowing from it, then the pump is fine.
“But if nothing comes out, the pump could be faulty, and you need to press the START button on the generator to make sure.”
If no fuel comes out when pressing the START, the fuel pump is dead and must be replaced.
Step #4: Check carburetor or governor actuator
Moving linkages of both carburetor and governor actuator can tell you if there is binding in them or they are properly functioning.
In models with electronic fuel injection, the throttle body linkage also should be checked whether it moves smoothly.
If there are any bindings, chances are that such faulty part needs to be replaced, for example, the carburetor is designed in a way that almost all problems that may happen are not repairable.
If none of these steps yield a culprit for the fault code, then you will have to take it to a professional shop.
Causes of the Fault Code 41 You Can’t Fix
There are several potential causes of this fault code that are not really user-serviceable.
But, nonetheless, here is what they are and why you should avoid attempting them.
Rotor Windings, Slip Rings, and Brushes
Bad rotor windings, slip rings, and brushes; can be diagnosed with a special tool that plugs in the control board connector, on the generator side.
But to repair it, you need to remove the generator from the RV and disassemble most of it on the workshop bench.
Slip rings in some situations can be cleaned and thus fixed with proprietary or aftermarket tools available from Flight Systems, but it is almost impossible to do it with the generator inside the RV.
Brushes are actually very easy to diagnose as faulty and replace, but again if your generator is sitting on a bench.
Faulty Rotor or Stator
Replacing a faulty rotor or stator is a job you should leave to a trained professional, it is a complex procedure and many things can go wrong.
Not to mention that you will have to disassemble the whole generator on a bench.
Generator Power Rating
As the generator ages also its maximum power output decreases.
This is something that needs to be measured by specialized tools, and the only solution for it is a complete engine rebuild or accepting the new lower power rating as a fact.
Prevent Fault Code 41 from Reoccurring
The most common thing that leads to problems that can cause the fault code 41 is if the generator is sitting idly for far too long.
“Fuel, for example, starts breaking after a couple of months in the parts of the generator where it may still be present after it was running.”
It can create gummy gunk which prevents various parts from properly working under load.
Also, the humidity from the air can be a bane of the generator’s windings.
Because of these two things, it is important to properly exercise your generator every month and use fuel preservatives when RV is in storage.
The best practice is to run the generator for a couple of hours with at least half of the maximum load.
In much simpler terms, this means setting both AC units on full blast.
This will get all the parts moving, and fluids flowing through the generator, but also heat the windings and dry them if there is moisture on them.
Besides this, you absolutely must do regular maintenance per the user manual.
Especially when it comes to changing the fuel filter every 500 hours of use, or every three years.
The dirty and gummed-up fuel filter can damage the fuel pump, which in turn can lead to fault code 41.
References
https://www.cummins.com/sites/default/files/rv-manuals/A035D009.pdf
Recent Posts
Have you ever wondered if your Onan generator has an oil filter? Once summer arrives, families all over the country look forward to getting their RVs and campers ready for the road. One of the...
Have you ever wondered why your RV generator runs but not producing any power? Look no more. We`ve got you covered. When you are away from the beaten tracks with your RV, the primary source of...