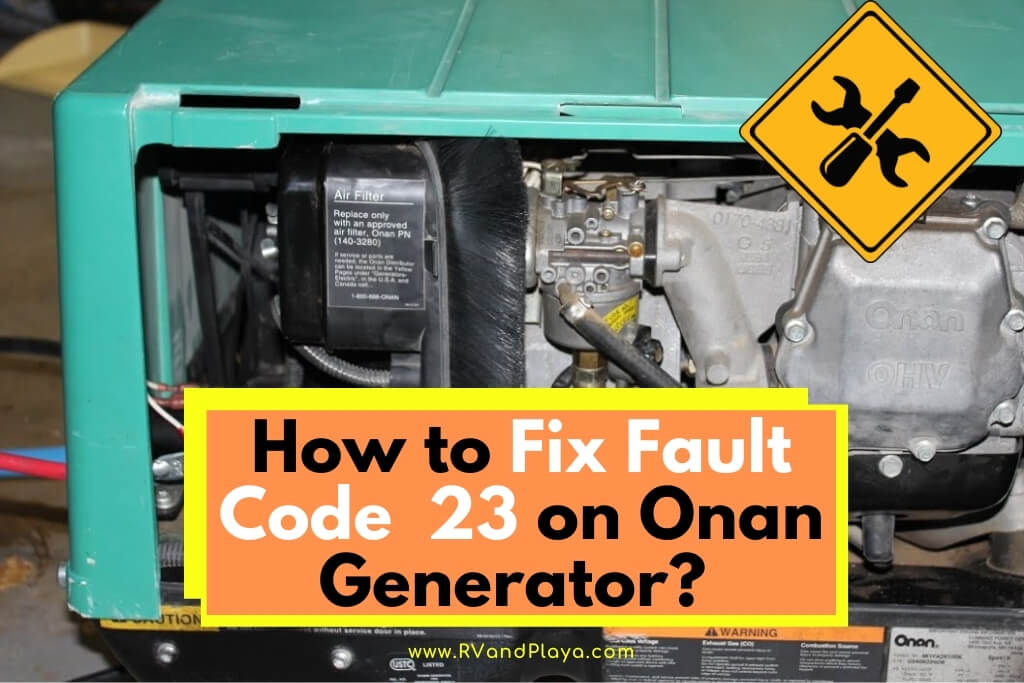
One of the rarest fault codes you may encounter during your RV ownership is fault code 23 on Onan generator.
The main reason is that it is mapped only on generators manufactured before 2001.
If by any chance you have an RV with a 20 or more years old electric Onan generator, it is possible to encounter this error code.
Even if you have bought a newer RV, once you encounter this situation you can be certain that the generator was manufactured before 2001 no matter what is written on it, or what someone may try to convince you.
Fault code 23 is a simple situation to find yourself in, it is a problem that can have two potential causes.
So, how to fix fault code 23 on Onan generator? To solve the error code 23 on Onan generator, just check and follow the steps below:
– Step #1: Remove the service access panel
– Step #2: Inspect the low oil pressure cutoff switch
– Step #3: Disconnect the battery
– Step #4: Disconnect the low oil pressure cutoff switch lead
– Step #5: Remove the low oil pressure cutoff switch
– Step #6: Installing new low oil pressure cutoff switch
– Step #7: Reconnect the low oil pressure cutoff switch lead
– Step #8: Reconnecting the battery
Going on I will explain this in more detail, but for starters, you should be aware that this fault code indicates that the safety devices of your generator are working as they should.
So, let’s get on what this situation is and how to deal with it.
Table of Contents
What is Fault Code 23 on Onan Generator
The fault code 23 indicates a problem with the low oil pressure cutoff switch while you were attempting to start the generator.
To put it differently, it means that the generator is unable to detect that it is working properly because it is sensing that the switch is open during the start when it should be closed.
This is caused by one of two situations, either the cutoff switch is broken or the lead wire to it got disconnected for some reason.
Before you start tearing apart the generator looking for the location of this switch, it is a smart thing to first make sure that the generator is actually displaying the fault code 23.
Read also: What Oil Does An Onan 5500 Generator Take? (Types Explained!)
Reading the Fault Code on Onan Generator
Onan generators are known for an elegant and simple way of informing you about fault codes.
The STOP/PRIME button is equipped with an indicator light, and it will flash in a pattern showing the exact fault code.
If you are not one hundred percent certain, please do follow these instructions on how to retrieve it.
- The first thing you need is to open the access hatch to your generator, using the remote controls from inside your RV will not be helpful as the indicator light is located on the manual controls on the generator itself.
- Once you are looking at your generator, on the left half of the generator you will notice a square box with two flip switches and a rocker button with STOP/PRIME written under it and START above it, with a red transparent plastic square on its top half, behind which is located the indicator light.
- You have to press the bottom half of this button three times, and between the first time and the last press shouldn’t elapse more than 5 seconds, so you have enough time to firmly press the button.
- Once you have done this, the indicator light will begin blinking, if the flashing pattern is blink-blink-blink-pause-blink-blink-blink-pause, and that way repeating, it is the first-level fault code 3, this code means that the issue is caused by a second-level fault code which is consisting of two digits.
- Now, you need to hold the STOP/PRIME part of the control button for around a second, once you depress it, the blinking pattern will change and you must note which it is as it is specific for the fault code your generator is displaying.
While you are reading the fault code, it is very important not to interpret the first blinking sequence as fault code 33.
When displaying single-digit codes, the indicator light will make the same length pauses between each group.
“On the other hand, when displaying the two-digit code, there will be pauses of different lengths, digits will be separated by a short one while the whole code pattern ends with a longer pause.”
Once the pattern is displayed, it will be repeated over and over again for a duration of five minutes.
You can either leave it to shut off by itself or press the STOP/PRIME button two times to shut it off.
If the indicator light is displaying the blink-blink-short pause-blink-blink-blink-long pause pattern, you are dealing with a problem related to a malfunctioning low oil pressure cutoff switch.
It is important to pay attention to the pauses between blinking sequences because if you mix up which one is first and which one is second, you could have a fault code 32 situation, which is a completely different kettle of fish.
Read also:
>> How to Fix Fault Code 12 on Onan Generator?
>> How to Fix Fault Code 14 on Onan Generator?
>> How to Fix Fault Code 13 on Onan Generator?
>> How to Fix Fault Code 15 on Onan Generator?
>> How to Fix Fault Code 36 on Onan Generator?
>> How to Fix Fault Code 33 on Onan Generator?
>> How to Fix Fault Code 32 on Onan Generator?
>> How to Fix Fault Code 22 on Onan Generator?
>> How to Fix Fault Code 29 on Onan Generator?
>> How to Fix Fault Code 58 on Onan Generator?
>> How to Fix Fault Code 35 on Onan Generator?
>> How to Fix Fault Code 19 on Onan Generator?
Troubleshooting Onan Generator Fault Code 23
Troubleshooting this problem is easy, you will have to remove the service access panel of your generator.
Step #1 Remove the service access panel
The service access panel is secured by two screws, their location can vary between models, but there are two possibilities.
The first case is when there is a round thing poking through this panel, this is the oil filter, in such case the left screw connects this panel with the unremovable metal panel on the left side of the generator, and the second one just above the spark plug.
In the second the service access panel has nothing protruding through it and the screws are located on its upper corners.
Step #2 Inspect the low oil pressure cutoff switch
Once you remove it you will have easy access to the low oil pressure cutoff switch.
On models that have oil filters protruding through the service access panels, the low oil pressure cutoff switch is located just above the oil filter, it is easy to recognize it by its cylindrical shape and hexagonal base, and the fact that it is much smaller than the oil filter.
Otherwise, you will find it on the left side from the oil dipstick.
The first thing you should look for is whether the electric lead is firmly secured to the contact on its top.
If it’s not you need to secure it and the problem is fixed.
But, if it was properly connected, the low oil pressure cutoff switch is dead and needs to be replaced.
How To Replace Low Oil Pressure Cutoff Switch
Replacing the low oil pressure cutoff switch is fairly easy.
Step #1: Disconnect the battery
The very first thing to do is to disconnect the negative lead from the battery to avoid the generator accidentally attempting to start while you are working on it.
Step #2: Disconnect the low oil pressure cutoff switch lead
Depending on the model, this piggyback connector may be screwed, so you will have to remove the screw, otherwise just pulling on the connector will do the job.
Step #3: Remove the low oil pressure cutoff switch
For this, you will need a deep socket wrench, the size varies between models, and you should turn it counter-clockwise or if you like mnemonic devices more, it is righty-tighty, lefty-loosey.
Step #4: Installing new low oil pressure cutoff switch
For screwing the low oil pressure cutoff switch a torque socket wrench is needed, as you will need to screw it tight to proper specs.
Proper toque is between 10.8 and 14.5 feet pounds or 14.7 and 19.6 newton-meters, use of thread sealant is important.
Step #5: Reconnect the low oil pressure cutoff switch lead
Going backward from removing, the next step is to reattach the lead to the low oil pressure cutoff switch.
Step #6: Reconnecting the battery
Final step is to reconnect the battery and start up the generator.
Prevent Onan Generator Fault Code 23
There isn’t something you could do to prevent this problem from arising again, and in reality, there isn’t really any need to worry about it reoccurring.
The low oil pressure cutoff switch is a fairly simple device that doesn’t have many moving parts, so the chances of it going bad are negligible.
Just as any other part, it does age, especially in a situation that the RV and generator are sitting parked and unused for several years.
If you get into a situation that you need to replace it, you can be certain that the replacement part will outlive all other parts of the generator.
References
https://www.cummins.com/sites/default/files/rv-manuals/A035D009.pdf
Recent Posts
What Oil Does An Onan 5500 Generator Take? (Types Explained!)
Looking for what kind of oil an Onan 5500 generator take? Look no more. We´ve got you covered. Onan is the leading generator company across the world for RVs and campers. Almost every RV is...
Have you ever wondered why your RV generator runs but not producing any power? Look no more. We`ve got you covered. When you are away from the beaten tracks with your RV, the primary source of...