If your RV or motorhome is equipped with an Onan generator and when pressing the START button it refuses to even crank, it may start blinking the fault code 19 at you.
This kind of generator behavior can be anxiety-inducing, but ironically the problem is very often quite trivial.
Getting down to the root of the problem and fixing it is a priority, though.
So, how to fix fault code 19 on Onan generator? To solve the error code 19 on Onan generator, just check and follow the steps below:
– Step #1: Check for improper shutdown
– Step #2: Check governor harness
– Step #3: Taking it to a shop
But before you start fiddling with the generator it is important to know whether it is still in the warranty.
Many repairs that are quite straightforward are not user recommended, and you will void the warranty if you attempt them.
It is always safer and cheaper to be covered by a warranty, but ultimately, in the case that your RV and/or generator are covered, it is your own decision whether you want to keep it or not.
Table of Contents
What is Fault Code 19 on Onan Generator
The fault code 19 means that when attempting to start the generator is detected that the governor actuator circuit is opened or shorted.
The role of the governor is to maintain the consistent RPM of the generator’s engine as the load on the generator changes.
Which makes it a critical part of the safe and normal function of the generator.
If its lead circuit is open, it can mean that the governor is not present on the engine at all, or that it is disconnected.
“In both cases, it would be unable to perform its role and the control board for safety reasons needs to prevent the generator from starting.”
Before going too deep in its functioning, let’s move on to how to solve the problem when fault code 19 happens.
Read also:
>> How to Fix Fault Code 12 on Onan Generator?
>> How to Fix Fault Code 14 on Onan Generator?
>> How to Fix Fault Code 13 on Onan Generator?
>> How to Fix Fault Code 15 on Onan Generator?
>> How to Fix Fault Code 36 on Onan Generator?
>> How to Fix Fault Code 33 on Onan Generator?
>> How to Fix Fault Code 32 on Onan Generator?
>> How to Fix Fault Code 22 on Onan Generator?
>> How to Fix Fault Code 29 on Onan Generator?
>> How to Fix Fault Code 58 on Onan Generator?
>> How to Fix Fault Code 35 on Onan Generator?
Reading the Fault Code on Onan Generator
Before you can attempt to solve some problem, you should make sure which exact problem you are experiencing.
Onan generators are known for a simple way of signaling various fault codes with a flashing pattern of the indicator light on its controls.
But first things first.
- The first step you should take is to locate the access hatch to your generator, usually on the side of your RV, and open it to access the controls on it.
- On various models of Onan generators, the controls are located either on the left side or in the right half of it. But generally speaking, it is hard to miss it as those are the only buttons on the generator set.
- To read the code you should press three times the STOP/PRIME button. All three presses need to happen within the 5 seconds window to be properly registered.
- The indicator LED on the START button will flash three times, then will come to a brief pause. Showing the fault code 3 pattern which indicates that the generator is refusing to start because of a second-level fault code.
- You then will retrieve the two-digit fault code, by pressing the STOP/PRIME button one time more and keep it pressed for around a second, after you release the button the flashing sequence will change to the one that corresponds to the exact fault code you are dealing with.
As the second level fault codes are consisting of two digits, the flashing pattern is also consisting of a group of flashes for each digit separated by a brief pause.
After both groups have been displayed, a long pause will come, and the pattern will then be repeated.
“The indicator light will continue flashing this code for full five minutes and then stop, so you have ample time to properly read it even if you don’t manage to read it when it is displayed for the first time.”
It is a smart course of action to actually read the code and count the flashes at least two times, to be certain that you have read the code properly and that you are trying to solve an existing problem and not just sending yourself on a wild goose chase.
In the situation when the first group of flashes is consisting of just a single one, and the second one is consisting of nine flashes, you are experiencing the fault code 19.
When reading the code, it is important not to mistaken two flashes for a single flash, as fault code 29 signifies a very different problem from fault code 19, and you could end up wasting your time trying to solve non-existent issues.
RV Onan Generator Start-Up Problems. Fix it here. Hint & Tips >> Check out the video below:
In this video we are going over some of the first things to look at when your generator won’t start or stay running.
Troubleshooting Onan Generator Fault Code 19
Fault code 19 happens when the control board detects that the governor actuator’s circuit is open or shorted during the attempt to start the generator.
There are four potential causes of this, and half of them are very easy to fix.
Step #1: Check for Improper Shutdown
If you have shut down the generator while both of your air conditioners are on in your RV, there is a chance that the control board continues to register the generator activator’s circuit as open.
To fix this, you will need to disconnect the batteries from the generator and keep it that way for 15 minutes.
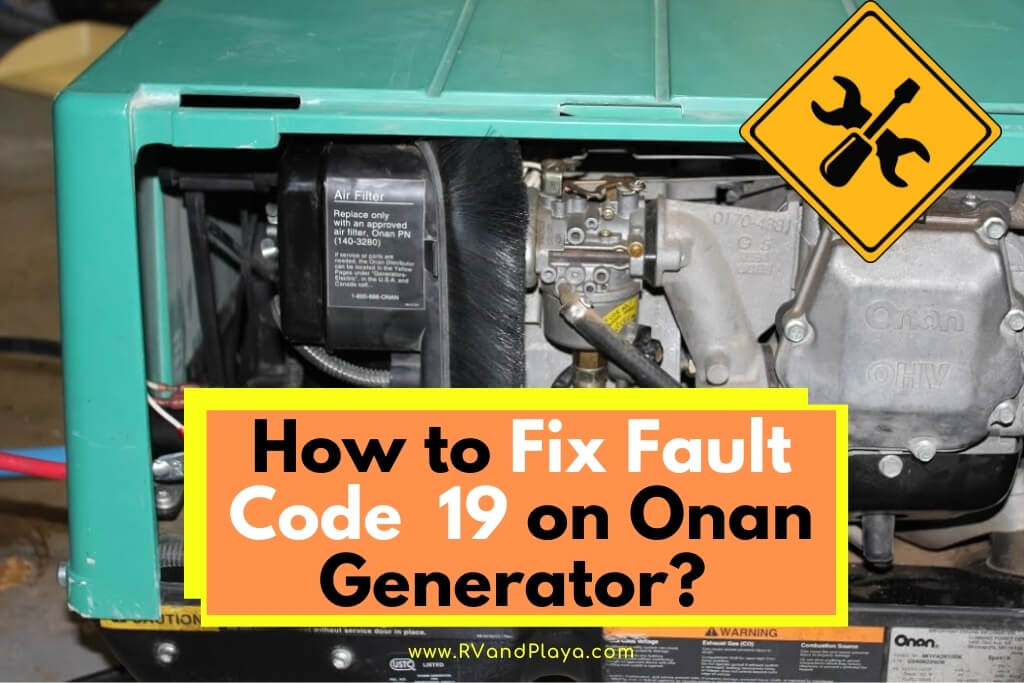
Step #2: Check Governor Harness
While waiting for the 15 minutes to elapse, you can check for the second most common cause of the fault code 19.
There are differences in design and location of the governor actuator harness, and this will depend on the model of your generator, common thing for all variants is that they connect to a harness coming from the control unit via sealed plug and receptacle, two-part, type connector.
One way to recognize the harness is because it is made of three cables that run through a ribbed hose, two cables usually end with a rectangular and one with a triangular clip.
Very likely one of these clips has come loose, thus making the governor actuator circuit open.
Step #3: Taking It to a Shop
If none of these steps produce a solution, then either the governor actuator or the control board is bad and needs replacing.
Diagnosing either of these two issues requires very specific knowledge of the electrical wiring of the particular Onan generator model, and it’s better left to a trained and certified professional.
Prevent Fault Code 19 from Reoccurring
The fault code 19 is one of those types of problems where you can’t do much to prevent them from happening again.
There is an odd chance of it being caused by shutting down the generator while both ACs are on, so always first turning them off is a good practice.
When it comes to the most common cause, which is an improperly connected governor actuator harness, it can happen by accident when you are doing some other maintenance around your generator.
So, it is a smart practice to whenever you do any work around generator when you are done disconnect and reconnect the connectors just to make sure they are properly seated.
In case that your generator is out of warranty, and either the control board or governor actuator was bad, it is a good idea to opt for replacing either of these two with aftermarket parts.
The reality is that since Cummins has taken over Onan, the quality of the OEM replacement parts is not what it used to be, nor is the quality of repair services.
A good source of the aftermarket replacement parts is Flight Systems, they produce parts that are the same or higher quality than the Cummins’ OEM replacement parts, and are covered by a two years warranty policy.
Replacing the control board is a rather simple procedure.
All you need is to remove two screws holding the control panel, and then remove the four screws holding the board secured to the panel.
By disconnecting the plug connector from the board it will come completely free.
It is important to consult the manual for your generator for easier identification of the replacement part as there are three different models of Onan control boards and they are not interchangeable.
Putting in a replacement board is the same as taking the old one but in reverse.
“When it comes to the electric governor actuator, there is only one model used on Onan generators, part number 151-0752, which is present only on the Marquis series with electronic fuel injection.”
Those are 5.5KW BGM and 6.8KW NHM models, both from B to G specs, but excluding the A-spec.
Replacing the governor actuator can be a tricky job, because it is located in the back of the generator, and if you have bigger hands, it will be uncomfortable trying to remove its two screws, so it is easier to pull out the generator from the RV and remove all covers for easier access.
References
https://www.cummins.com/sites/default/files/rv-manuals/A035D009.pdf
Recent Posts
Have you ever wondered if your Onan generator has an oil filter? Once summer arrives, families all over the country look forward to getting their RVs and campers ready for the road. One of the...
Have you ever wondered how many hours should an Onan generator last? Look no more. We´ve got you covered. RVs are perfect for taking the luxuries of the home onto the road with you. One of the...