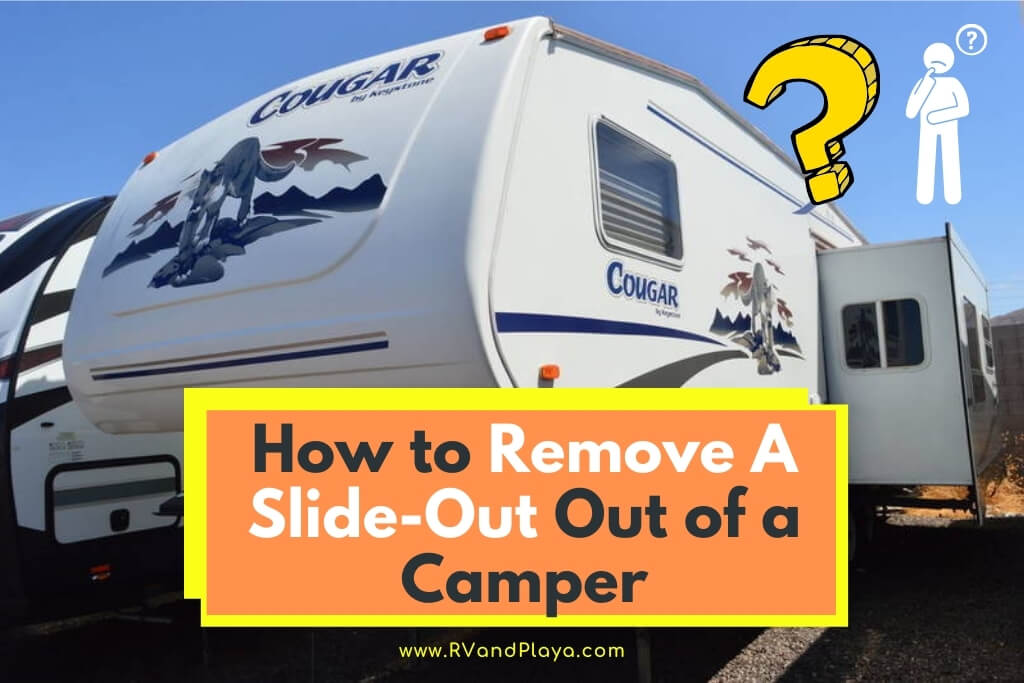
Owning a camper can be fun but what happens when you need to remove one of the slide-outs? You may need to repair the wall or replace the carpet. Or maybe you just do not want it anymore.
How to remove a slide-out out of a camper? Removing the slide-out from your camper can be done in three simple steps:
- Remove the horseshoe fittings (ram fasteners) in the molding.
- Pull it out as far as it goes.
- Remove the fasteners that are holding the slide-out on the rams. Make sure you have support in place under the slide-out before pulling it out.
Once you get the slide-out free of the camper, you will need some people to help you remove it all the way. If you are not going to be replacing it, put it somewhere out of the way. Let’s go into some more details.
Table of Contents
Gather the Tools You Will Need
Depending on what you are planning to do with the slide-out and why you are removing it, you will need a variety of tools for the job. No matter what you are doing, the common tools you may need include:
- Pliers (needle nose and regular)
- Screwdrivers (an assortment of Phillips and flat)
- Hammer
- Mallet
- Wrenches
- Drill with various bits
- Socket set
- Utility knife
- Tape measure
Of course, you may need other tools depending on what type of slide-out you are removing and why you are removing it. For example, in the case of water damage and carpet repair, you may need a staple gun and some type of sealant like caulking.
Travel Trailer Slide Out Room Removal & Renovation >> Check out the video below:
Take Some Before Pictures of the Attached Slide-Out
Have you ever taken something apart and then could not remember how to get it back together? Most people have.
The simple answer for this is to take pictures of the slide-out before removing anything. From every side and angle.
Make sure you know exactly what you are looking at so you can remember to put it back together right.
Remove Everything from the Slide-Out
This includes everything. Not just the furniture. For example, you will need to remove:
- Interior trim
- Electrical connections
- Plumbing connections
- Awnings or other outdoor attachments
Another Tip on Forgetfulness
Be sure to mark everything with tape to know where it all goes back together. In other words, use masking tape to mark each wire or plumbing pipe as you remove it.
Just like with the photos, marking the wires and plumbing will help you put everything back together when you are done.
Some Causes of Leaks in Slide-Outs
There are a variety of issues that can lead to water damage. Some are major while others are simple fixes. They include:
- Leveling problems: If your camper is not level when you open or close your slide-out, the water will bypass the seals to get in. Always keep blocks in your RV to level your rig in case your site is not level.
- Misaligned slides: Also known as crab walking, your seal will not close tightly if it is not aligned right. Use some WD-40 or other lubrication on the slide mechanism to make it slide evenly.
- Wear and Tear: Anything with moving parts will eventually give you trouble no matter how well you take care of it. Sometimes they just stop working or become misaligned for no reason.
Look for Any Fastener Blocks
The manufacturer sometimes blocks the access to your ram fasteners. Check underneath your camper to be sure there is nothing blocking the slide-out from being removed. Look for:
- Belly pans
- Propane tank holders
- Fuel tank holders
- Water tank holders
Make Sure You Invite Some Friends
Do not do this project alone. No matter how strong and capable you are, this is not a single-person job. It can be dangerous trying to remove any size slide-out on your own. It may look small and light, but many of them can weigh more than a thousand pounds.
Trying to pull that out on your own is just asking for trouble. When the dealerships or mechanics work on a pull-out, they have special equipment like forklifts and other machines to help them.
And they still do not do it alone. Invite a few friends over to help you.
You should also be sure to brace the slide-out well with shims and blocks. The supports you use should be tested to hold at least twice the amount your slide-out is supposed to weigh. Do not just use axle stands or car jacks.
Important Tip: Always disconnect the battery before working on your slide-outs.
The Pros and Cons of Slide-Outs
Also known as a slide room or add-on, the slide-out is an addition to the space you have inside your camper. Having that extra room can add an extra dose of comfort when you camp.
Especially for those who spend a lot of time in their rig. However, there are some cons of slide-outs as well. Here are the pros and cons of slide-outs:
Pros
- They add extra room
- They increase the value of your camper
- The extra storage space comes in handy
Cons
- They are heavy, making your camper weigh more
- Maintenance can be expensive
- Some can cause your rig to fishtail due to uneven weight
- They cost more (some adding about $12,000 to the price)
- Bad for fuel efficiency
- When they are not pulled out, they take up more space
- Prone to misalignment and other problems
As you can see, there are a lot more cons than pros, but those who love their slide-outs will certainly argue the point. One thing to remember is that slide-outs require routine maintenance to prevent some of the above issues.
Routine Maintenance on Your Slide-Outs
There are two types of slide-outs on the market today, which are electric and hydraulic. The electric slide drive systems are better for lighter slide-outs.
Hydraulic motors are better for the larger and heavier slide-outs. Both types need to be maintained properly by cleaning and inspecting the many moving parts. However, there are some specific maintenance for each type.
Some of the maintenance you will need to do on electric slide-outs include:
- Lubricating all the moving parts with a lubricant like WD-40 or the equivalent. They actually make slide-out lube that you can pick up anywhere.
- Check the seals, especially the ones around the top and sides. Look for stiffness or cracks in the rubber.
- Look for even compression on the bulb seals. If one spot is more compressed than others, there could be a misalignment problem.
Hydraulic slide-outs are more often used on rigs with wall movers or multiple slide-outs. Some of the maintenance to do on these include:
- Lubricating the moving parts just like you would with the electric slide-out
- Checking the seals as you would with the electric slide-out
- Inspecting the bypass valve and manual controls
- Checking the hydraulic fluid for leaks
- Looking for abnormal wear and tear
- Examining the valves and pump
- Inspecting the springs and hoses
Because hydraulic motors do the heavier moving jobs, they have more parts to check to keep them in good shape.
You should become familiar with all of the parts in your camper, including all of the slide-outs.
Preventative Maintenance Pays Off
It makes more sense to perform preventative maintenance rather than waiting for something to break.
Keeping up with the maintenance of the entire rig is essential. Just like any vehicle, you need to take it to a mechanic on a regular basis.
You can find the maintenance schedule in the owner’s manual or maintenance book included with your camper when you buy it. However, if you bought it secondhand, the manuals may be MIA.
In that case, just go online and find the owner’s manual for your particular camper and download it. This will save you a ton of money in repair fees.
Recommended reading
For more helpful articles about RVing please check out our articles below:
How Much Does a Slide-In Camper Weigh? (With 4 Examples)
How Much Wind Can a Pop Up Camper Take? Is It Dangerous?
How Many Watts Does a Pop-up Camper Use? (Facts & Numbers)
Does RV Antifreeze Go Bad? Shelf Life of Antifreeze
Recent Posts
Lowe's offers seasonal recycling programs for Christmas lights at many locations. This guide explains their current policies and helps you make the most of their recycling services. Remember to...
Goodwill's policy on accepting Christmas lights varies by location and season. This guide helps you determine whether your local store will take your holiday decorations and how to prepare them for...