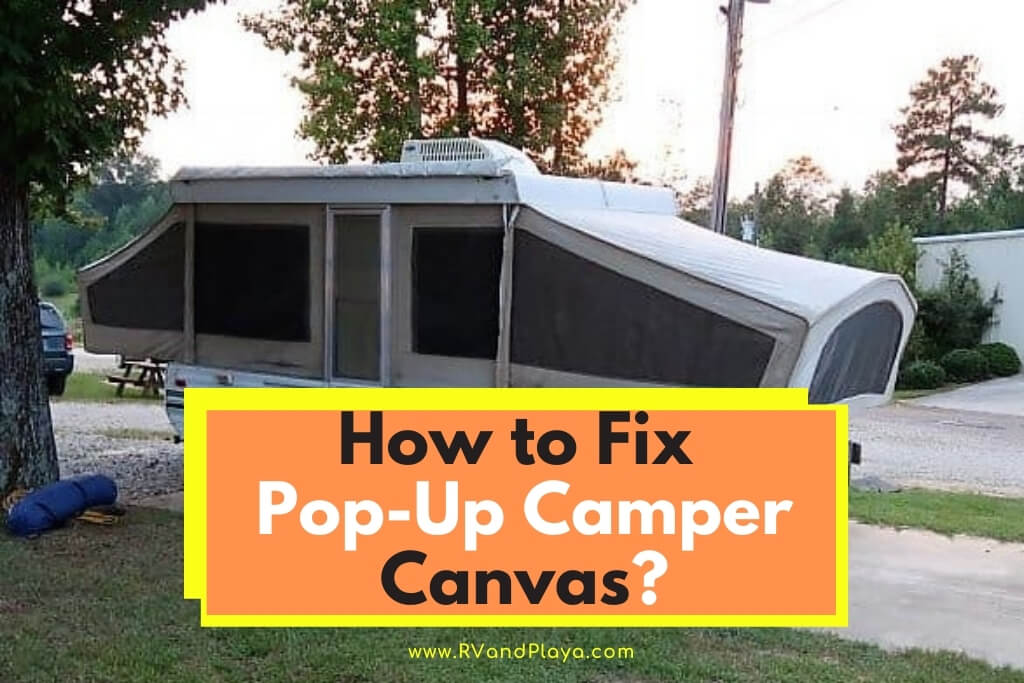
One of the most common problems with pop-up camp trailers is damage to the tent portion of the trailer.
Making repairs to the tent canvas or vinyl is easy if you follow a few simple steps and do the proper preparations.
There are seven basic steps to repairing the tent material on your pop-up camper trailer.
- Measure the damaged areas
- Locate the correct repair kit
- Prepare the tent material for the repair
- Cut the repair material
- Apply the adhesive and the patches
- Allow the adhesive to cure
- Weatherproof the patches
A systematic approach to repairing the fabric portions of your pop-up tent trailer is a must to ensure a weather-tight and durable repair.
These steps should guide you through repairing all but the most extensive and most damaging rips and tears in your pop-up tent trailer.
Table of Contents
1. Measure the Damaged Area or Areas – Order enough Material
Open your trailer and erect the tent portion. Carefully exam both the interior and exterior parts of the fabric tent and make notes on the size and location of each repair you intend to make.
Add up the area of the repairs to get the total amount of repair fabric and other materials you should order.
1.Don’t forget to check the windows and window screens. You can repair the clear vinyl and the screens as well as the tent fabric.
2. Allow one inch extra around any areas needing repair. The repair fabric should extend onto undamaged areas of the tent fabric.
3. If the damage extends across a seam such as in a corner or where two pieces of tent fabric join, you may need to consult with a professional to repair these areas
4. You should buy twice as much repair material. Each repair takes a piece of repair material on the outside and the inside of the tent fabric.
Related reading: How to Seal Seams on a Pop-Up Camper – (What You Need To Know)
2. Locate the Right Repair Kit – Match the Materials
The key to making a functional repair on your pop-up tent trailer is to match the repair kit with the type of material on your trailer. Pup-up tent material comes in several varieties.
- Canvas
- Vinyl
- Sunbrella Fabric
- Window Screen Material
Check the owner’s manual that came with your pop-up tent trailer for recommendations on which material to use to repair the fabric portions of your trailer.
Many trailer manufacturers sell repair kits designed to work with the material on your trailer.
If you must use an aftermarket kit, try to match the following as closely as possible.
- Type of material
- Weight of material
- The thickness of the material
- Color of the material
3. Preparing the Pop-Up Tent Material – Clean is the Key
When you have the repair materials in hand and time to spend working on your pop-up tent camper, your next project is to clean the tent fabric around the damaged areas.
The adhesive used to make the repairs must be applied to clean fabric.
Make sure that the areas around the damaged portions are free of
- Dust
- Dirt
- Grease
- Oil
- Any waterproofing substances
The manufacturer of your trailer is the best source of information on how to clean your pop-up tent trailer fabric.
If that information is not available, there are some basic tips you can follow.
- Use a brush or broom to remove loose dirt accumulations on the inside and outside of your pop-up tent trailer fabric.
- Don’t use commercial detergents on your tent canvas. Use a product is made for cleaning tent canvas. These products are available from most home improvement stores or RV dealers.
- Use a soft brush or sponge to clean the canvas.
- Rinse the canvas or vinyl thoroughly
- Leave the pop-up camper erected with the windows open weather permitting to allow the tent material to dry thoroughly.
4. Making the Repairs – Cutting the Repair Material
For each area that needs repairing, cut two patches of similar shape and size.
When cutting your patches, there are a few things you should remember.
- Patches do not need to be square or round. Patches can be irregular in shape to fit the area that needs repair.
- Allow enough material around the edges to ensure that the patch extends onto undamaged tent material at least one inch.
- Keep the surface of the repair material and the pop-up tent clean and dry
We suggest that you work on each damaged area of your pop-up tent camper one at a time rather than cutting all the patches first and then trying to make the glue joints.
5. Applying the Patches – Working with the Glue
Depending on the material you are repairing and the kit you use, the specific instructions may vary.
Always follow the directions that come with the repair kit you are using to apply the glue and the patch material.
In general, you should follow these guidelines in patching each damaged area of your pop-up tent trailer material.
- Start on the inside of the trailer.
- Apply the adhesive according to the manufacturer’s directions. The specific steps and methods of applying the adhesive may vary, and to get a proper seal, you must follow these directions carefully.
- With the inside repair made, move to the outside of the pop-up tent trailer, and repeat the process.
Most adhesives used to make the repairs to your tent trailer materials allow you 10 minutes or so to get the patch into position and to work out all the air bubbles that may be under the patch material.
You may need a partner to apply pressure on the opposite side to allow you to work the bubbles between the patch and the trailer tent material.
Systematically work your way around your camper, making the repairs to each damaged section of the tent fabric.
6. Allow the Adhesive to Cure Completely – Patience is Important
Don’t be in a hurry to close your pop-up tent camper and put it back into storage.
Closing and folding the tent can cause unexpected problems if the adhesive is not allowed to cure completely.
If you get impatient and close the camper to soon, the uncured adhesive may stick to any fabric that comes into contact with the repair.
If you don’t give the adhesive time to cure, you may find that your tent is in worse shape than before the repair if it is now a glued together mess that refuses to unfold and go flat.
Allow your pop-up tent camper to sit erected at least 24 hours after you made the last repair.
7. Restoring the Weatherproofing on Your Repairs
The patches you have made on the tent material on your pop-up tent trailer are not weatherproof.
Also, if you cleaned the areas around the damage, you may have compromised the weatherproofing on the entire tent portion of your camper.
Before you store your pop-up camper trailer after the repairs, you should apply a fresh coating of weatherproofing to the tent.
Several commercial products are easy to apply and do a great job of weatherproofing tent canvas or vinyl.
Whichever product you choose, follow the directions carefully to ensure that your next camping trip is dry and comfortable.
Conclusion
Maintaining your pop-up tent camper in the best condition possible is the key to protecting your investment in the trailer and to ensure that you can continue to enjoy your trips and adventures.
Repairing the tent material on your pop-up camper is a job that most trailer owners can accomplish.
Following a few simple steps and doing a little pre-planning can make the process easy.
Don’t be hesitant about taking on the challenge of repairing manageable damage to your pop-up tent trailer fabrics.
The sense of accomplishment you gain will add to the pride you take in your trailer and the sense of adventure you gain on your camping excursions.
Popup Camper tent trailer Canvas Vinyl repair and removal/install >> Check out the video below:
Recent Posts
Lowe's offers seasonal recycling programs for Christmas lights at many locations. This guide explains their current policies and helps you make the most of their recycling services. Remember to...
Goodwill's policy on accepting Christmas lights varies by location and season. This guide helps you determine whether your local store will take your holiday decorations and how to prepare them for...