We have heard people ask this question many times “why do RV toilets have sprayers?”. And the majority of these queries follow up with a “this is probably a silly thing to ask”.
Honestly, it isn’t! Most people aren’t aware of what RV toilet sprayers are there for. But don’t worry, we are going to answer this query today so everyone is in the know.
Table of Contents
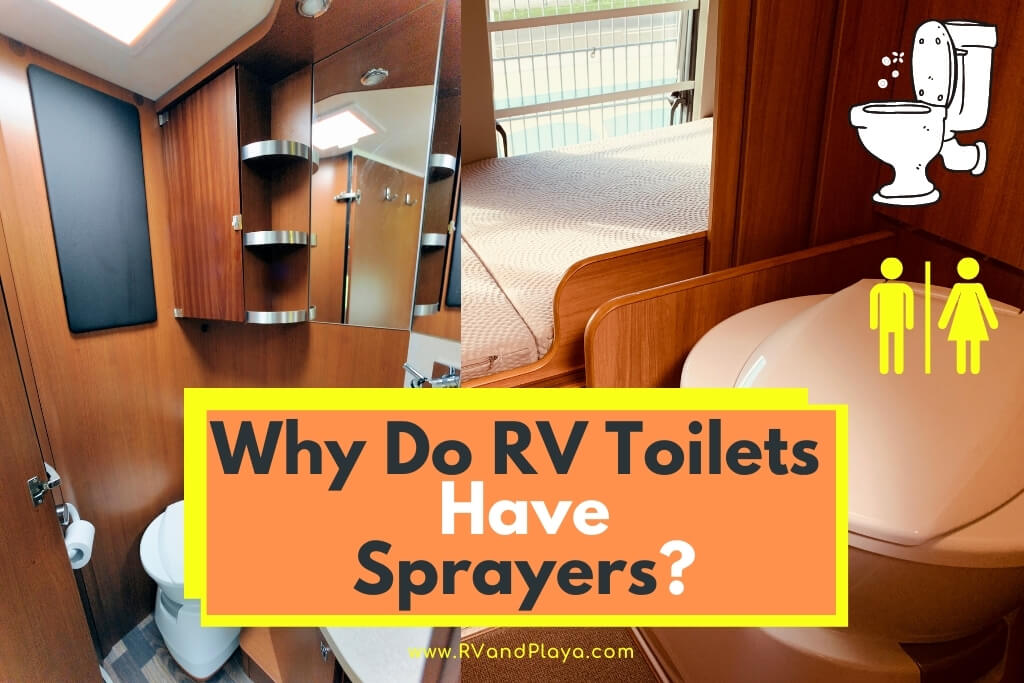
Why Do RV Toilets Have Sprayers?
RV toilets have sprayers, professionally referred to as a spray nozzle, to help with cleaning. Let us clarify.
By cleaning, we mean cleaning the toilet bowl and not yourself. Unfortunately, this isn’t a fancy bidet attachment (although that would be pretty cool).
Why do RV toilets have sprayers? RV manufacturers have kindly added a little sprayer (kind of like a tiny showerhead) in the toilets for you to ensure everything is fresh before you leave the bathroom.
However, they are an optional extra. You don’t necessarily need one if you have a toilet brush but they are certainly very useful.
Toilets in campervans and motorhomes don’t flush with the same power or swirling motion as those fitted in brick and mortar homes.
Not to mention that there is far less water in the bowl! So, it rarely gets a clean flush.
? Purchase: You can purchase this RV toilet sprayer or a new RV toilet brush today!Just follow the links to Amazon where you can see current pricing.
How Do You Use an RV Toilet Spray Nozzle?
This varies from RV to RV and manufacturer to manufacturer. Having said that, toilet sprayers usually turn on when you hold down the trigger on the neck of the hose.
In some campervans, there may be a button on the floor that you have to stand on while using it so the water is pushed through.
Take a look in your bathroom to see if this applies to you.
Realated reading: Can I Use My RV Toilet in the Winter or In Cold Weather (Yes, Here Is How)
How to Add a Sprayer to Your RV Toilet
If you have realized that your RV toilet is not fitted with a spray nozzle, you might be inclined to fit one (especially if you’ve had toilet bowl discoloration problems!).
Luckily, you can install one yourself if you have some basic DIY skills or a friend who is willing to assist.
We’ll run through each step in detail so you know what to expect.
Step One: Get The Supplies
The first thing you need to do is acquire a spray nozzle and a flexible hose pipe.
While you can search for this in your local hardware store, it will be much easier to grab a pre-made kit from a specialist RV supply shop.
Although, these kits tend to be hard to find. If you can’t seem to get your hands on one, travel to a home improvement shop (or go online) and grab a sink spray rinser.
Step Two: Turn Off Your Water
Before you start playing around with the pipes, you need to switch the water pressure off. To do this, locate the shore connect hose and disconnect it.
Then, make certain that the 12-volt water pump is turned off as well.
If your toilet’s water line has an isolation tap, you won’t need to do this. Instead, just turn the valve clockwise until it no longer moves and the job is done!
Step Three: Remove The Pipe
Grab a wrench and remove the flexible pipe from behind the toilet system.
Be gentle, as the pipe might be connected to the water control (in professional terms, the vacuum breaker).
They tend to be quite fragile so take your time to ensure all remains well.
Step Four: Attach The Pipes
Put one of the in-line openings of the T-fitting to the vacuum breaker or the toilet. Then, take the flexible water pipe and attach it to the other in-line opening.
Grab the sprayer hose and connect it to the right angle T-fitting joint.
Once that’s complete, you need to turning everything clockwise to thread all the equipment together.
Step Five: Turn The Water On
Get the water pressure back up and running. Don’t forget to inspect the connections for leaks.
If you see any water at a joint, just give it a turn with the wrench until the leak stops.
Read also: Does RV Insurance Cover Water Damage? What You Need To Know
Step Six: Add A Retaining Clip
To make sure the sprayer isn’t strewn across the floor of your RV bathroom, screw a retaining clip to the wall.
Most hardware stores sell these and they’re very easy to install.
Read also: Is Charmin Toilet Paper safe for RV? – What You Need To Know
Are There Alternatives to Using RV Toilet Sprayers?
While RV toilet sprayers are effective, some people have noticed a lot of pressure loss since it’s connected to the toilet.
But, it’s okay since there are alternatives!
Use The Showerhead
Depending on the layout of your RV bathroom, your showerhead may well reach the toilet bowl. If this is the case, just use that! It will save a lot of time and effort.
However, it’s like that you’ll make the floor pretty wet in doing so.
To avoid this you should think about installing a shut-off valve near the showerhead itself.
That way, you won’t need ridiculously long arms to turn the shower off and on while hanging it over the toilet.
Use A Garden Spray Nozzle
Okay, this is a tad extreme but it does work. Whether you attach a short garden hose to your faucet or shower hose, it will produce a great deal of pressure that makes cleaning the toilet bowl a breeze.
While We’re Here, Let’s Talk RV Toilet Etiquette
Now that you understand all there is to know about RV toilet sprayers, we just wanted to talk about toilet etiquette to finish off.
We know that some people haven’t been RVing for very long so this is for those who are new to the game!
Etiquette Rule Number 1: Only Waste and Toilet Paper Goes down
Nothing but your own waste and the toilet paper used should go down your RV toilet.
Even too much TP can cause clogs that lead to catastrophic consequences!
Read also: Can You Flush Tampons Down In an RV or Camper Toilet? (Facts You Should Know)
Etiquette Rule Number 2: Ensure You Only Fill The Bowl Slightly
Make sure you step on the pedal halfway and fill the bowl with a tiny amount of water.
Remember, your RV tanks are not the same size as those in brick and mortar houses.
Etiquette Rule Number 3: Know What a Fast Flush Is
A fast flush is a fantastic way to save water while in your RV so it’s a good idea to learn how to do it. Just follow these simple steps and you’ll be a pro in no time:
- Put your foot on the pedal.
- Step down and release instantly.
- That’s it!
Related reading: This Is Why Your RV Toilet Foot Pedal is Leaking – [How to Repair]
Etiquette Rule Number 4: Do The Toilet Paper Cross
As soon as the water is in the bowl, some waste will stick to the sides as there isn’t much to stop it from happening.
However, you can prevent it by making a toilet paper cross before you sit down to do your business.
Place this ‘T’ shape into the bowl (you’ll only need 2 strips to do this). Then, sit down. When you go to flush, you will notice that anything solid will slide into the holding tank much easier.
Of course, if anything is left, you can use the sprayer nozzle to get rid of it!
? Purchase:You can purchase this RV toilet sprayer or a new RV toilet brush today! Just follow the links to Amazon where you can see current pricing.
The Bottom Line
Not only are you an expert on toilet sprayers now, but you are also a self-proclaimed pro of RV bathroom etiquette! You’ll never be caught out a dump station again.
References
https://www.irv2.com/forums/f258/why-sprayer-next-to-toilet-145254.html
http://rvtoilets.blogspot.com/2013/05/rv-toilet-sprayer-alternatives.html
https://homesteady.com/how-8583729-connect-rv-toilet-holding-tank.html
Recent Posts
Lowe's offers seasonal recycling programs for Christmas lights at many locations. This guide explains their current policies and helps you make the most of their recycling services. Remember to...
Goodwill's policy on accepting Christmas lights varies by location and season. This guide helps you determine whether your local store will take your holiday decorations and how to prepare them for...