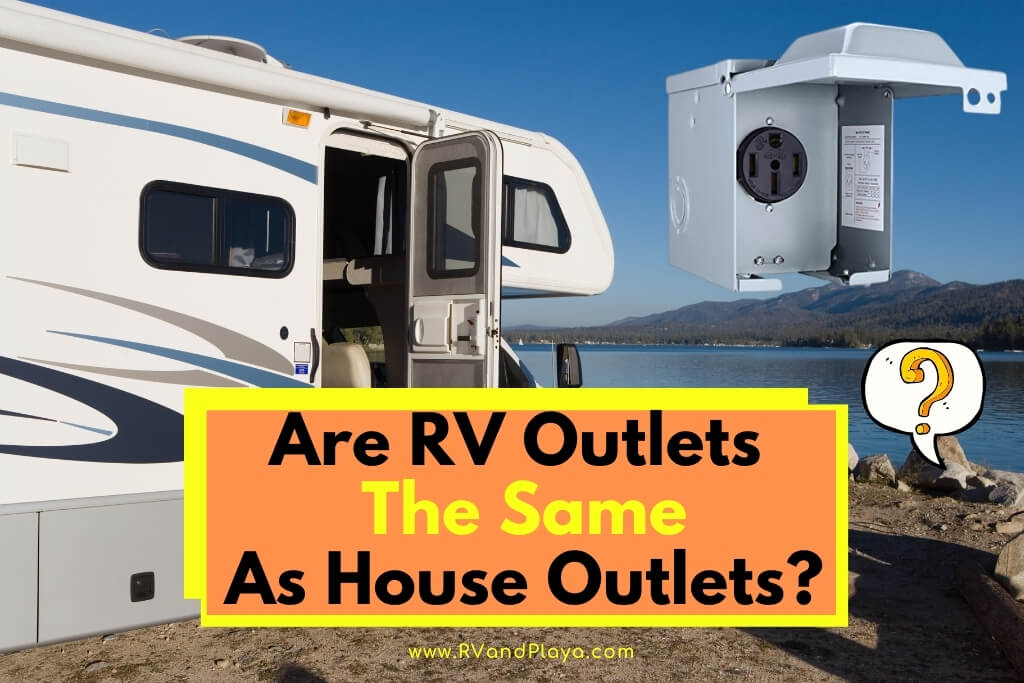
Have you ever wondered if RV outlets the same as house outlets or would you simply like to know how to replace RV electrical outlets? Well, I got you covered.
Electronics are a part of our everyday modern life. Even when you spend a weekend away in your RV, you’ll probably want to bring your devices with you.
And when an electrical outlet blows, you’ll need to know how to replace it.
Are RV outlets the same as house outlets? Yes, your house and RV electrical systems are similar, but the anatomy of the electrical system and its outlets are quite different. In a house, the box of an electrical outlet is screwed into a stud. However, there are no studs in an RV, so the electrical outlet instead uses a plastic clamp to vice against the plywood.
Let’s explore some details to understand this further.
Table of Contents
The RV Electrical System
Your RV will power itself off of a battery until you hunker down at a campsite and plug it in. Now, whether you are running off of battery or plug in power doesn’t change the process of changing out your outlets.
But it’s good to be aware of how your RV electrical system is operating.
I really like this Siemens TL137US Talon Temporary Power Outlet Panel. It’s gets amazing reviews.
Purchase: If you are interested in this Siemens TL137US Talon Temporary Power Outlet Panel then just follow the link to Amazon where you can see current pricing.
There are two main electrical systems within your RV:
- A 12-volt direct current system through a battery
- A 120-volt alternating current system through an electrical hookup
Battery Power:
That 12-volt direct current system operates via one or multiple batteries. The items that will be powered through this system include lights, water pump, furnace, water heater, and more.
This battery will automatically charge when you’re hooked up at a campground.
Electrical Hookup:
The 120-volt electrical system will kick in when you plug into an RV hook up at a campground or through a generator. It will power your large appliances like kitchen gear and your TV.
The Outlets:
The electrical system for the coach outlets will most likely be all on one circuit. This will be of interest later when we get into how to replace an outlet.
Keep in mind, with a single-circuit electrical system you could come across the issue of tripping the circuit if you try to run too many things at once.
And if you short out an electrical outlet, you’re looking at a full loss of power from all outlets! Yikes.
For this reason, it’s very helpful to know how to replace an RV outlet.
Related reading: 5 Effective Ways to Charge a Dead Travel Trailer Battery
RV Electrical Outlet Compared To A Residential Outlet
Your traditional residential outlet is comprised of the outlet itself and an electrical wall box that houses it. The screws, and wires that will attach to it, are exposed.
Wires emerge from the wall through a hole in the box and are attached to the outlet by securing them with screws.
An RV outlet is self-contained in a plastic box to accommodate the shallow walls. When you pop open the box, you’ll find the wire attachments are pinch points.
The downfall here is that the contact isn’t quite as secure and this can lead to faulty power.
Items that require more power can cause the outlet to heat up and overload.
Both of these outlets will be rated at 15 Amps / 120–volts but a residential outlet generally allows for much more wire contact, which reduces the electrical resistance, thus decreasing the risk of overloading the outlet.
In a house, the box of an electrical outlet is screwed into a stud. However, there are no studs in an RV, so the electrical outlet instead uses a plastic clamp to vice against the plywood.
? The RV outlet tends to fall short in the following ways:
? Less wire contact, which increases electrical resistance
? Contact points will be quicker to wear out and are not as secure
Probably won’t be able to find an RV outlet with USB ports. If you do, it’s likely very expensive.
It’s possible to replace the RV electrical outlet with a residential outlet.
To do this, you’ll also need to install a box in the wall, as you’d have in the wall of your house. As the walls in RVs are shallow, you’ll have to purchase a shallow wall box.
Related reading: Can You Put a Regular Fridge or a Mini Fridge in an RV? (RV Fridge vs Residential)
How to Replace An RV Electrical Outlet
Prepare your workspace by setting out your new outlet, gathering your tools, and removing any hand jewelry.
The following tools will be required:
? New RV outlet
? New faceplate
? New electrical box for the outlet – look for a Remodeler’s Box. It will have the plastic tightening clamps to secure to the wall, similar to your RV electrical outlet
? An electrician’s offset screwdriver, Philip’s head
? Flathead screwdriver
? Voltage tester (No-contact meter or a multi-meter): to make sure that the outlet is not powered before you work on it
? Wire strippers
? Utility knife
Locate the electrical panels on your RV. It’s helpful to know where these are, so you can inspect them for a tripped fuse.
This is also the first step in replacing an electrical outlet. The power supply will need to be shut down so you don’t run the risk of electrical shock.
Prep The Wall
First, you’ll need to adapt your wall for your residential-style outlet.
Remove The Old Outlet
- Turn off the power
- Use your voltage tester to ensure that there is no power to the outlet
- Remove the face plate from your old RV outlet
- Remove electrical outlet from the wall by the side screws with a screwdriver and pull it out of the wall. It will still be attached by a wire to the wall.
- If there is a single wire casing routing from the outlet, it means you are at the end of the line.
- If there are two wire casings routing from the outlet, it means you are not at the end of the line and you’ll need to keep both wires intact to retain power throughout your close-circuit system.
- Release the back box by using a screwdriver or tool on the side ports by pushing in the tabs
- Pull off the plastic back cover.
- Using pliers, pry the wires out of their pinch points. This can be quite difficult to do, so another option is to just snip the wires with a pair of wire cutters. Once the old outlet is free from wires, set it to the side.
Install The New Box
- Fold the source wire back inside the wall for a moment to get it out of the way
- Place the new box against the wall and outline the perimeter (you’ll probably have to cut the wall to accommodate this large box)
- Use a utility knife, or your preferred cutting tool, to carve out the new perimeter. Continue to test the placement of the new box so you don’t accidentally cut the hole too large.
- Once the box fits well, pull the source wire back out of the wall, and feed it through the new box
- Place box into the wall and secure it with the screws. You can also do this step after wiring the new outlet.
- Expose the wires from their casing: slice down the center of the plastic casing with your utility knife or blade and peel it back.
- Strip the ends of every single wire using your wire stripper
Install The New RV Outlet
Now you’re ready to install the new RV outlet. Remember, instead of the pinch points to secure the wire, you’ll be using the new outlet’s built-in screws to clamp them down.
Pick up your new outlet and prepare to re-attach your wires. There may be labels to tell you where to place wires. If not, here’s a guide for wire placement:
? Black wires go to the brass screws
? White wires to the silver screws
? The green or bare copper ground wire will go to the green screw
Remember: you may have two sets of wires if your outlet is not the end of the line. This also means that you’ll have two grounding wires, which will both attach to the same green screw.
If your outlet does not have quick-connect slots, you’ll be using screws to clamp the wires down.
Proper wire attachment with screws:
- Use a set of needle-nose pliers to curve the end of each wire.
- Place a wire under its respective screw so that the short end is towards the right. This way, when you tighten the screw, it will further secure the wire versus tending to nudge it out (righty tighty, lefty loosey)
Finish Up The New Outlet
- Wrap the border of the outlet in electrical tape to cover the screws (optional)
- Place the outlet into the box and screw it into place
- Replace your faceplate.
- Turn on your power and check that the outlet is functioning. If it’s not an end of the line outlet, make sure you check bordering outlets for power as well.
A few tips:
- If your outlets aren’t working, check the ground-fault interrupter (GFI) first
- Pack an electrician’s offset screwdriver with you – it will work better than an electric drill!
Replacing RV outlet with a standard outlet and box >> Check out the video below:
Summary
Replacing your RV outlets with improved residential outlets can provide you with a more reliable and durable source of power.
It’s more economical and gives you more options in styling and outlet types.
Always triple-check that the power is shut off and there is no voltage through an outlet before attempting to replace it. Good luck with updating your RV and happy camping!
References
https://www.theartofdoingstuff.com/
Recent Posts
Lowe's offers seasonal recycling programs for Christmas lights at many locations. This guide explains their current policies and helps you make the most of their recycling services. Remember to...
Goodwill's policy on accepting Christmas lights varies by location and season. This guide helps you determine whether your local store will take your holiday decorations and how to prepare them for...